How to Record Audio?
- Introduction
- 1. Activate Audio Recorder & Select Recording Device/Sound Source
- 2. Specify Recording Settings
- 3. Start Recording
- 4. Output the Recording
As a music lover, there must be times you want to record online music to listen to it again or share it with your friends. With this free audio editor, you don't need any special hardware for your computer or expensive software to capture live streams and convert them into audio files. Audio Editor for Free can not only record audio from the web, but also it can be used as a system audio and voice recorder.
1. Activate Audio Recorder & Select Recording Device/Sound Source
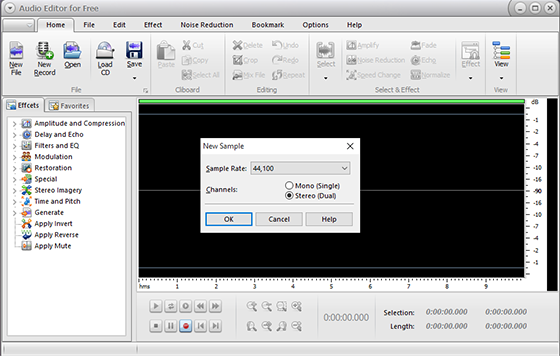
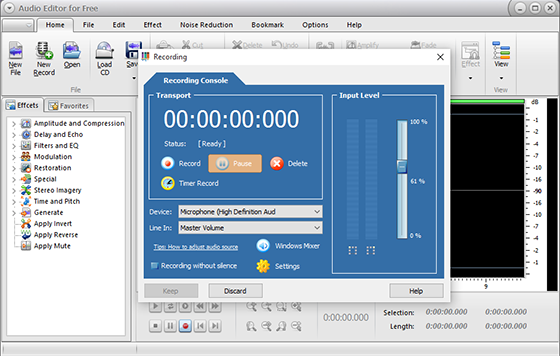
Once Audio Editor for Free is launched, click "New Record" and in the popped up window, select the Sample Rate and Channels you want. After that, click "OK" and the audio recorder window will be activated in no time. Then choose the sound source and select sound card in the menu of "Device" and
"Line In".

Now just play the audio file for recording and you will see the wave variations in the section of
"Input Level". If needed, you can drag the slider to adjust the recording volume. To automatically start recording at a specific time, click
"Timer Record".

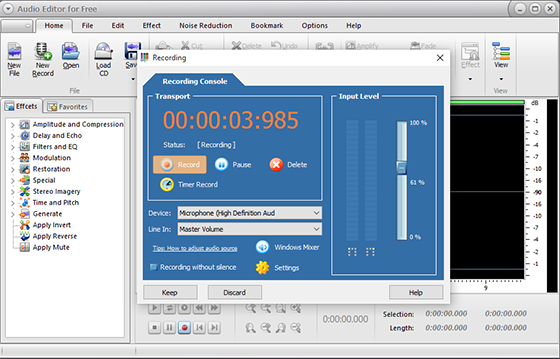
When all settings are done, hit on the "Record" button to start audio recording. To stop recording, click
"Pause". Then, click "Keep" to import the recording to the audio editor window.

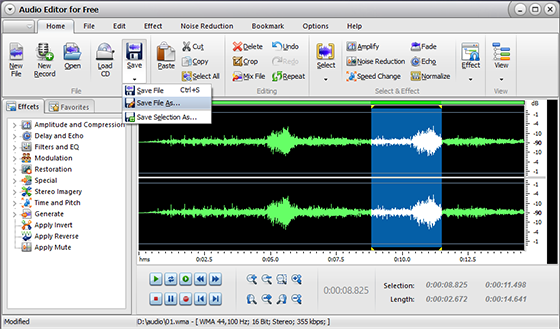
You are allowed to edit the recording directly in the audio editor window or just click
"Save" to save the recording in the format, location and quality you choose.

Related Topics:
More Useful Tips:
